wall tile outside corner that provides a flush edge
According to tile experts, tiling an outside corner is as easy as glazing the tile’s edges to increase the thickness of the tile
To use, glaze the short tile edges and combine them with other standard tiles to create the outer corner
If available, corner ceramic tiles may be used to further simplify the process of tiling exterior corners
To tile exterior corners, you may alternatively use ordinary tile and bullnose tile
The bullnose tile should extend slightly beyond the ordinary tile to provide a flush edge where the two different kinds of tiles must meet at 90 degrees
In order to form the edge for the outside corner, bullnose tiles may be combined at a 90-degree angle and installed on both sides of the corner
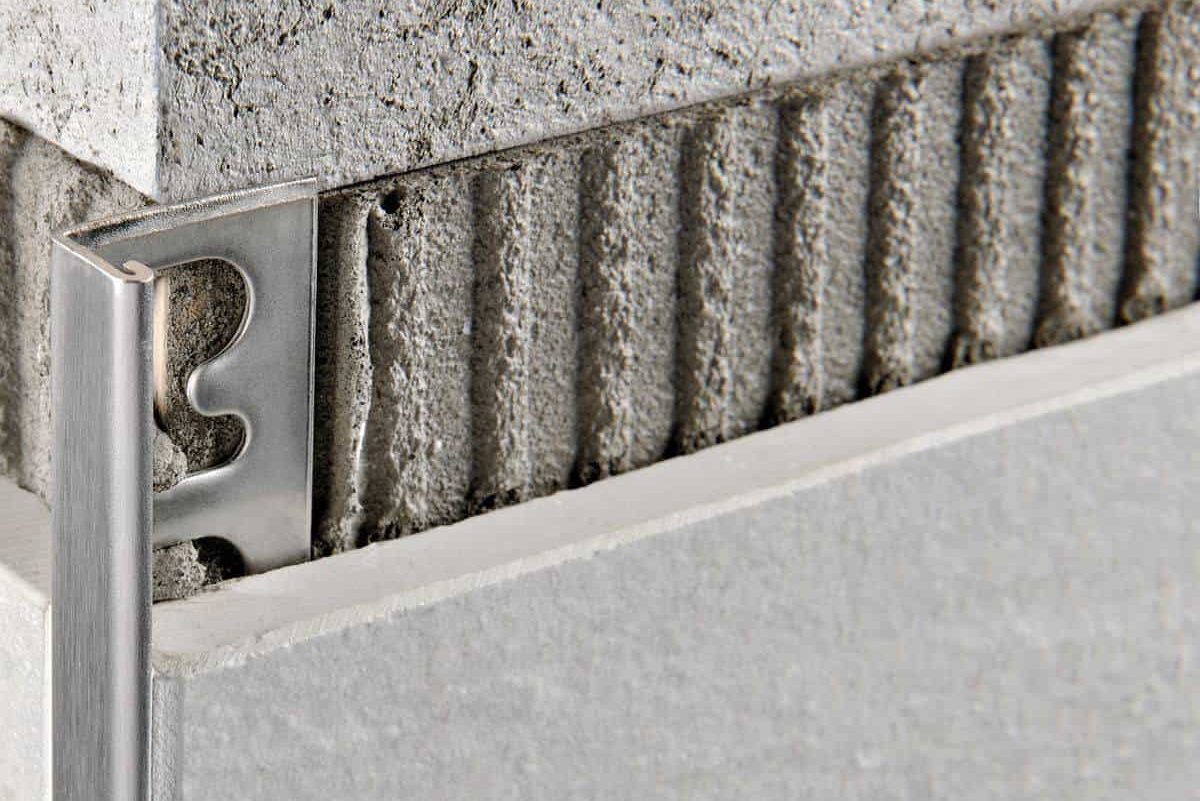
Tile
Both techniques produce edges that seem safe and smooth
The easier techniques of putting glazed tiles like bullnose tile won’t work if you’re dealing with a more complex design or limited supplies
In such instances, there are still options for tiling the outside corners
Wizard Enterprise suggests utilizing a mitering tool for ceramic tile to cut ordinary tile at a 45-degree angle, then joining the cut tiles there at the corner as an easy fix
However, the sharp edge produced by this procedure may not be what you want
Trim can be your best choice for completing some outside corner edge if none of these solutions work for you
Ceramic quarter-rounds provide a finished appearance to tiled edges and corners without detracting from their aesthetic appeal
Depending on the appearance you’re going for, plastic and metal accents may also be effective
Pro Tool Guide suggests measuring the corner to establish how much trim you want, cutting it using a trim cutter or sawing at a 45- or 90-degree angle for the corner’s edge, and gluing it thereafter
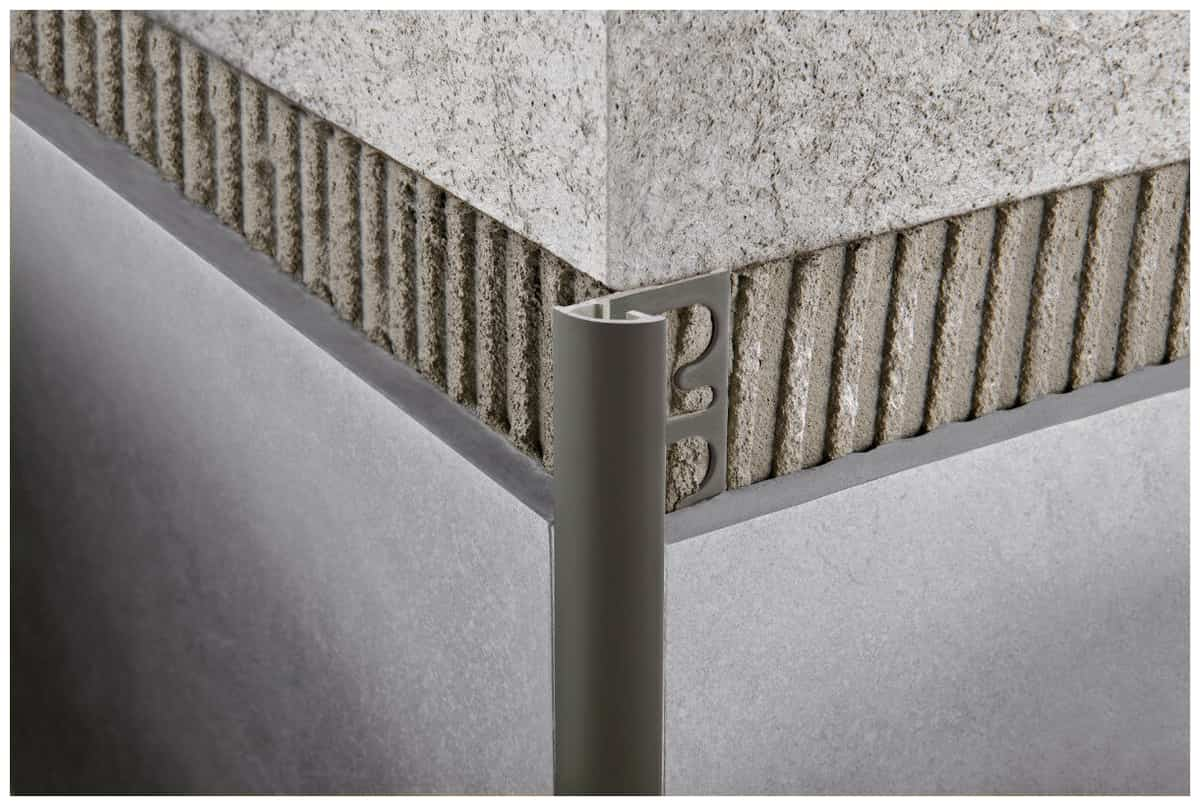
Ceramic wall tiles advantages
Subway tile outside corner
Subway tile is a great method to update a home’s outside corner appearance
Additionally, tiling a wall is far simpler than most other tile projects
Subway porcelain tiles have to resist everyday soaking or rainfall exposure as exterior or corners of wall applications
Therefore, there is a mandatory need for a backing board, waterproofing, or difficult-to-mix glue when installing the tile over your foundation wall using pre-mixed mastic adhesive in order to make it un penetrate able
Here is all the information you need to begin including subway tile in your remodeling project
Make sure the floor is level, as well as the walls for subway tall uses, are flat before beginning any tile installation
In the places where you wish to tile, hold the straightedge up against the walls
Before you begin tiling, fill any low spots you discover using a setting-type compound to level the walls
Kitchen wall tiles modern design
The appearance of the cap tile as it bumps against your door and window moldings is another item to inspect at this time
If the cap extends beyond the moldings, one solution is to add a matching wood strip around the moldings that is deep enough to conceal the end of the cap tile
Lay down the tile in rows on the floor, taking the spacers into account
To get the length of the end gaps and the placements of the plumb lines, move the rows to the left or right
Then arrange a column of tiles such that the base is at the bottom and the cap is at the top
Determine the final height of the subway tile corner with this mock-up
Draw vertical layout lines for the tiles beginning next
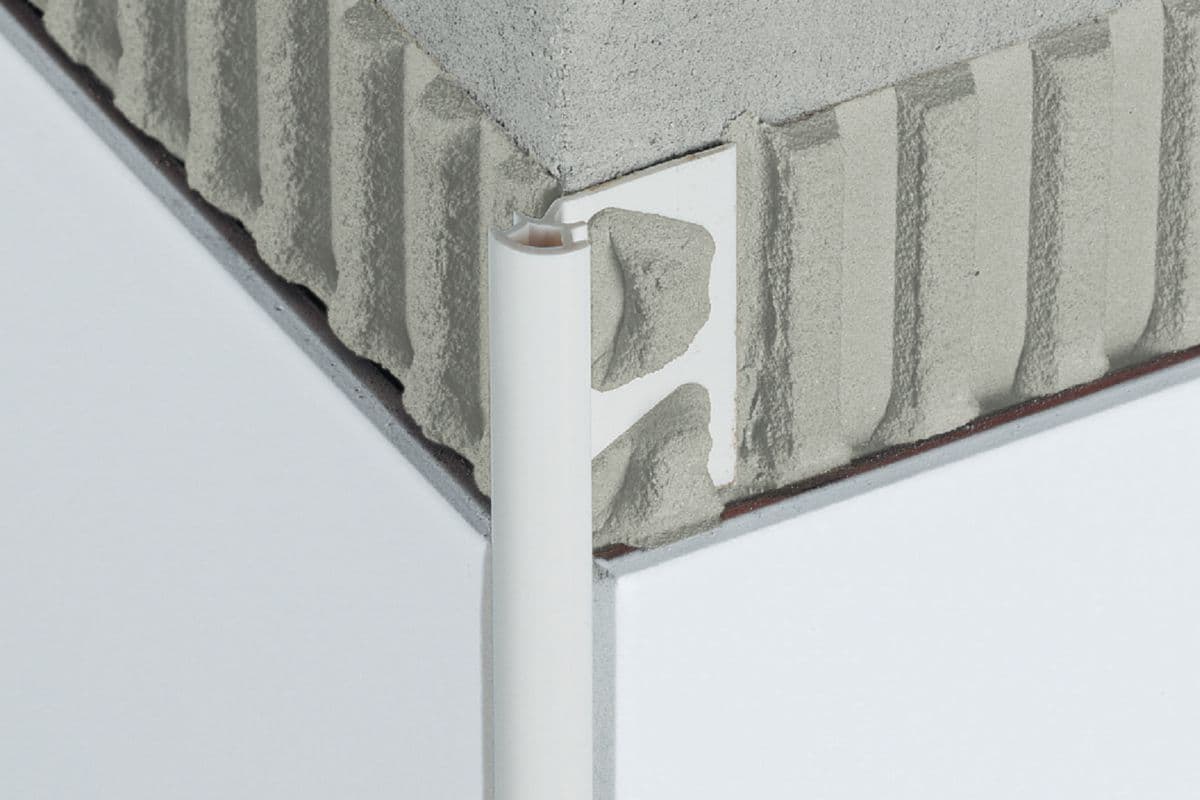
Porcelain ceramic wall tiles outdoor
90 degree Corner Tile Trim
One of the chicest and current granite tile trim is 90 degree angle corner
There is a vast range of tile trim 90 degree corners in worldwide which perfectly satisfies all of the needs
The 90 degree tile corner trim corners that are being sold on the website are of the highest quality and are made to endure for many years
When you buy from reputable and recognized suppliers, take advantage of several attractive discounts on these items
Various products that aid in taking excellent care of the luggage and provide a number of protective measures for them are included in tile trim 90 degree corner
These 90-degree tile trim corner items are optimized with all required safeguards and provide a guarantee of premium quality from reputable vendors
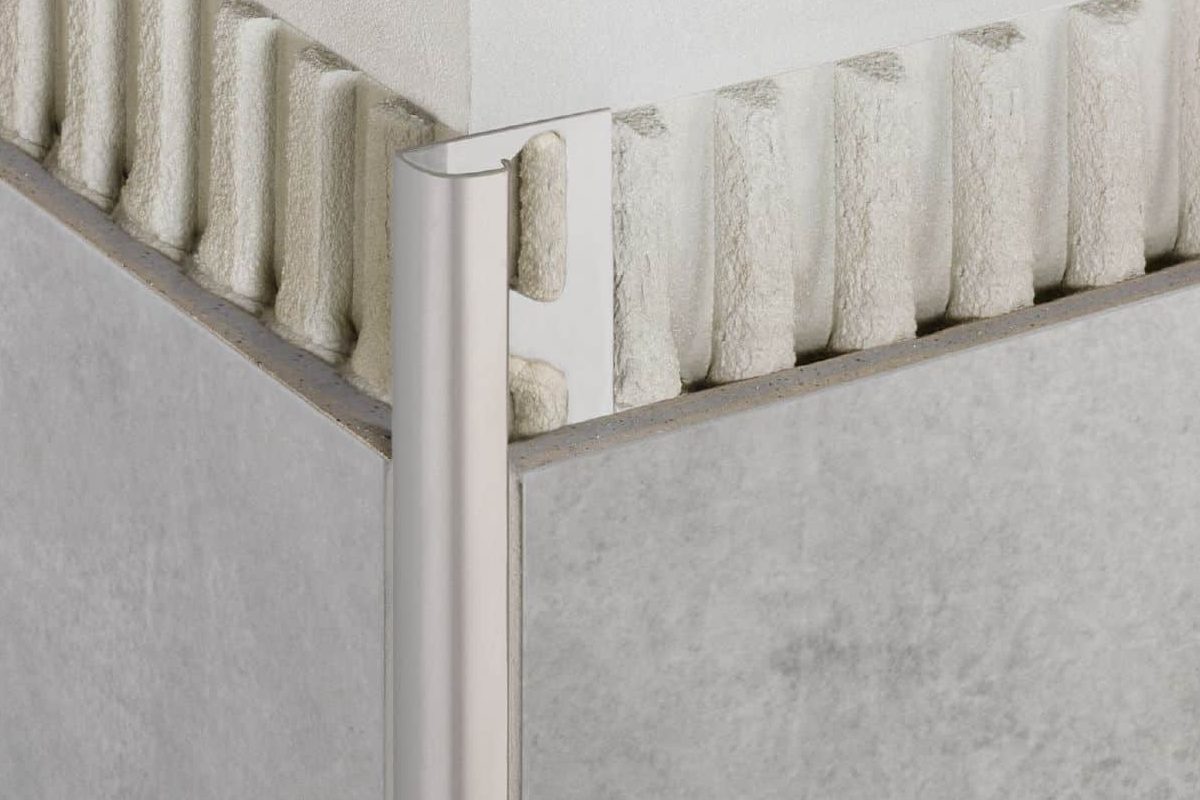
The fact that these goods are user-friendly and eco-friendly at the same time makes them top-selling items that are always in demand
This is the greatest feature of the complete tile trim 90 degree corner range
No matter what precise product you’re looking for, you can get it in one place
The tile trim 90 degree angle corners provided by Alibaba
com are strong and assist in transforming your dated, tough bags and baggage carriers into something lovely that exudes a feeling of newness and beauty
The complete tile trim 90 degree angle corner assortment consists of stylish but effective solutions that provide the best usage and allow no room for mistakes
The tile trim 90 degree angle corner that is offered here is available in unique designs, sizes, forms, and colors that satisfy various needs
Browse a huge variety of tile trim 90 degree angle corner ranges worldwide to find products that fit your budget and needs while saving a ton of money
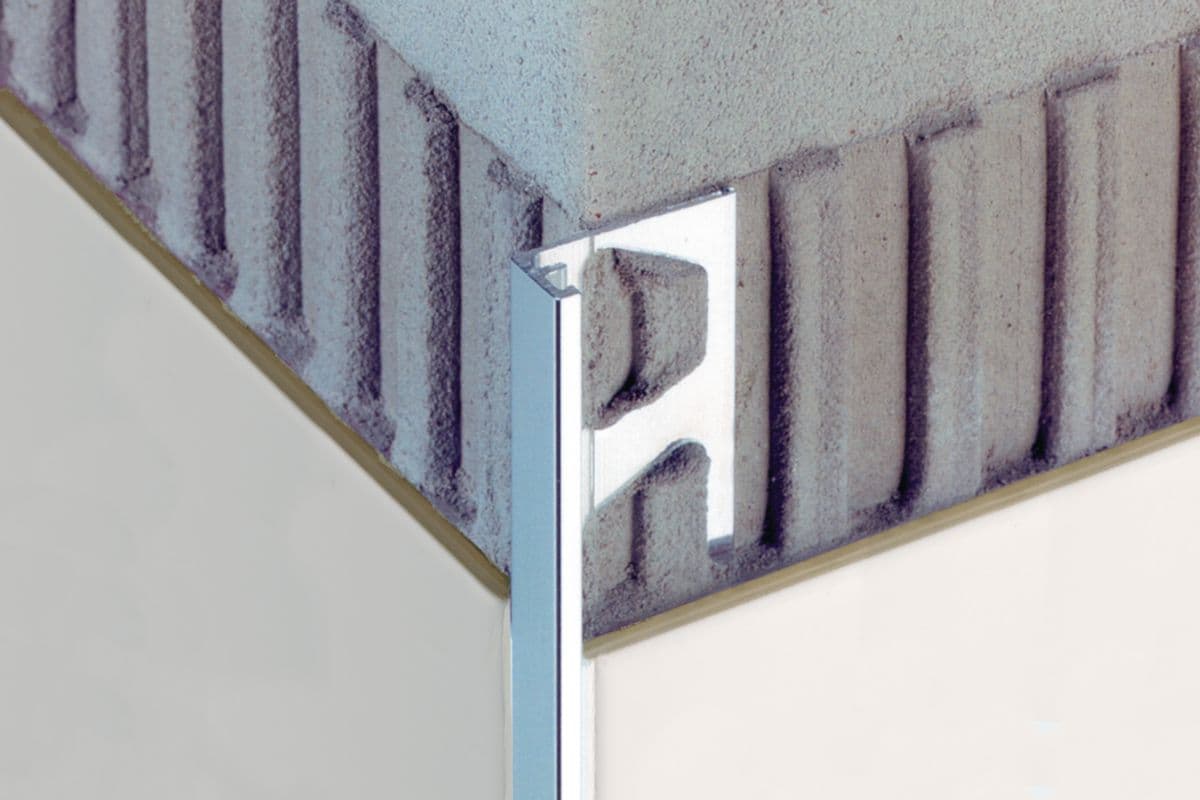
How to tile outside corner of fireplace
Fireplace plays a vital role in a home’s beauty so tiling of the outside of it specifically with small corners is very complicated
It took the mortar to set the tile and started going
A package of mortar intended to be used with natural stone tiles is what I’m using
You may be able to get away with using a pre-mixed solution that is simple to use and is marketed as tile adhesive, mastic, or modified thin-set
The ideal mortar to use is one that combines with water and then expels the water as it dries
While these are relatively simpler to be used, the chemicals in the mix may leak into natural stone tiles and discolor their look
Next chose a bag of grout labeled “non-sanded” to avoid scratching the tile’s finish
It should be prepared to verify the arrangement of my tile but corner arrangement is the hardest step
To determine the number of rows for the hearth arranged the tiles to the front back and inserted 1/8-inch spacers between both the tiles and slabs
Afterward, to obtain an estimate of how many tiles would fit in each row, they were set side by side at their widest point
try to lay out all of my tiles since this was a smaller job
Spend time staggering all darker tiles and eliminating any tiles that had imperfections
then arranged them in rows next to the fireplace
made a cardboard pattern for the surround in an excessive amount so that I could lay it flat and obtain a general idea of how my mosaic sheets would be arranged
A proper tape allows you to apply this on the floor as well, which was helpful for me in seeing the design
quickly finished cleaning my substrates, drew the hearth’s centerline, and then prepared to mix the mortar
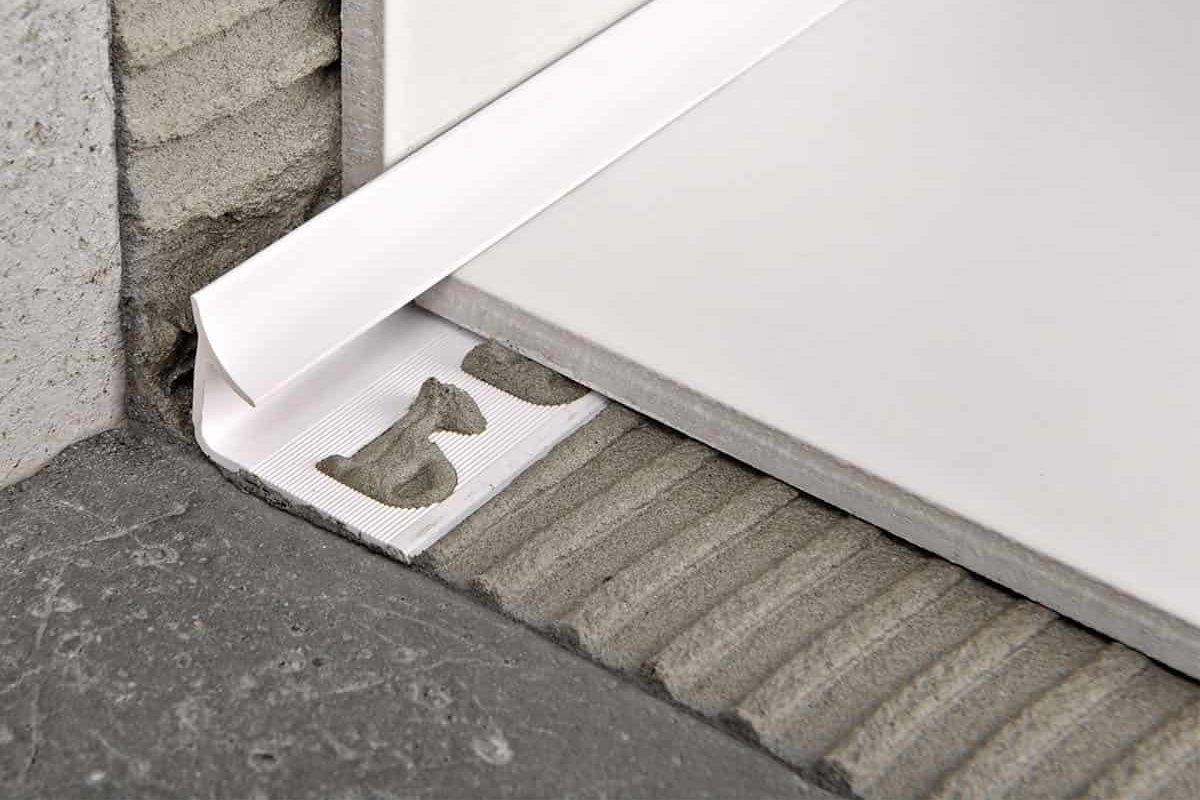
How to tile an outside corner with bullnose
The finished-edge tiles used to finish a wall tile installation are called bullnose tiles
Bullnose tiles have rounded outside corners that conceal the unfinished portion of the tile
Bullnose tiles are flush on the wall; there is no gap or room between them
Two bullnose tiles must be cut at 45-degree angles when a bullnose tile is really only bullnose on one side as well as the stone tile installation requires bull nosing both on top and the connecting side
The installation will be able to create a corner with completed edges because the two 45-degree cut tiles will come together to create a 90-degree turn
1
Set up a tile wet saw’s plate with a wooden block that has been cut at a 45-degree angle
In order to create a downward-slanting angle, align the board’s straight edge with the side of the blade
Make sure the wood is not positioned such that it will be sliced by the blade
2
Place the bullnose tile on the wooden block’s 45-degree slope
Allow the bullnose tile to overhang the top edge of the wooden block
The bullnose part that will be clipped is this one
To ensure that it will be cut at a precise 45-degree angle when placed into the tile blade, make sure it contacts the blade at a 45-degree angle
3
Start the saw, then carefully move the wooden block in the direction of the blade
Thus, the tile will be forced into the saw blade
Allow the blade to drag the tile through as it makes the cut rather than trying to push it through the blade
4
Disconnect the wet saw, then take out the bullnose
Place a second tile on the wood block after dragging it back to the beginning
Continue chopping
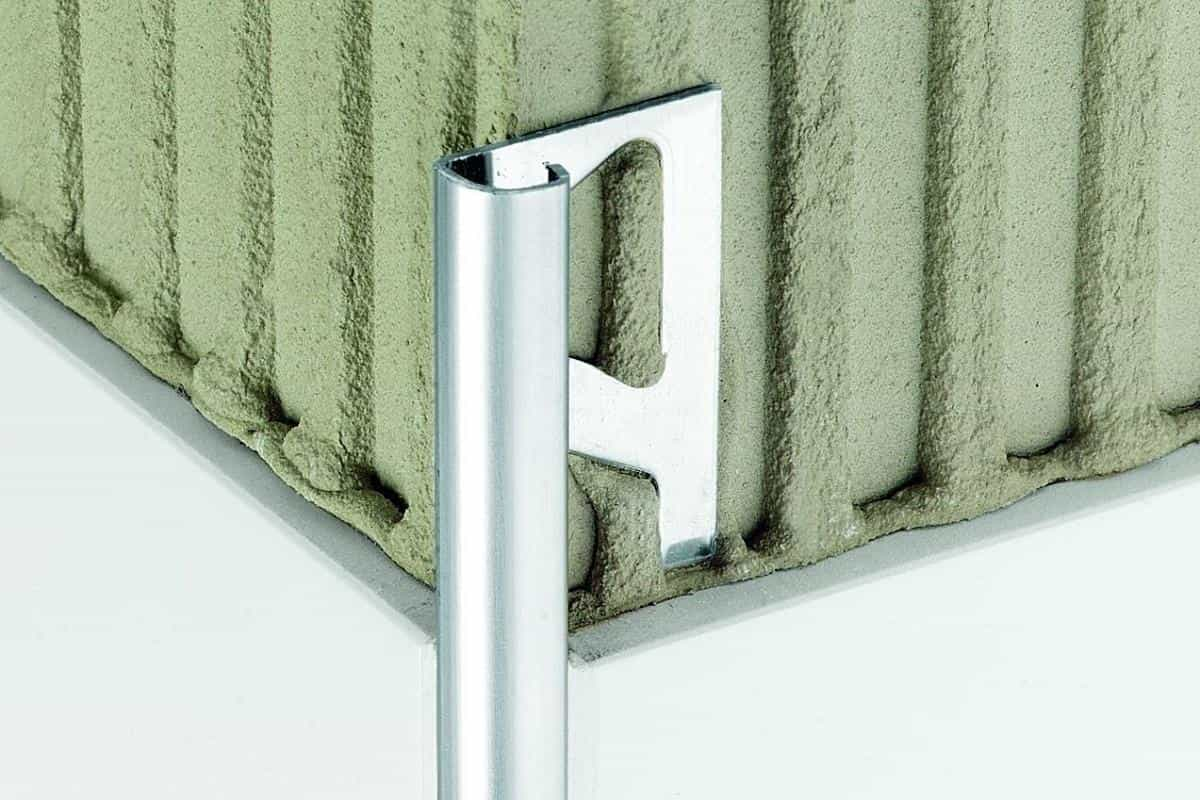
Tile 45 degree outside corner
Tile experts believe that 45 degrees offer a proper degree for the outside corner
To create enticing designs for outside corners and decors, it is possible to bevel, or miter, cut tile edges at a 45-degree angle
proper cuts are often employed in design projects and are quite popular
In addition to 45 degrees cuts, you also have additional alternatives when the corner angle is 90 degrees: Use metal or plastic tile edge trims; Use bullnoses or joyful tiles made of ceramic for corners; overlay tile (this method is often used with 3mm large-format porcelain stoneware or certain glass or natural stone mosaics)
However, you are forced to trim the tile’s edge such that it displays a 45-degree angle if the corner next to the brick tiles you are putting has an acute or obtuse angle
You must want to ask some questions right now, I’m sure! For instance, how to grind the center of the tile rather than the factory edge, or how to get the 45-degree cut without chipping
Additionally, after grinding, how keen should the edge be? Perhaps you need to cut the tile at a 45-degree angle in the center, or further out from the factory edge
After all, when you’re working on two outside corners around a little ledge, this occurs rather often
The tile should next be beveled on both sides after being initially shortened
If you cut a tile at a 45-degree angle in the center, the edge will be ripped and chipped and will be difficult to align and sand
Make a straight cut after measuring the necessary size
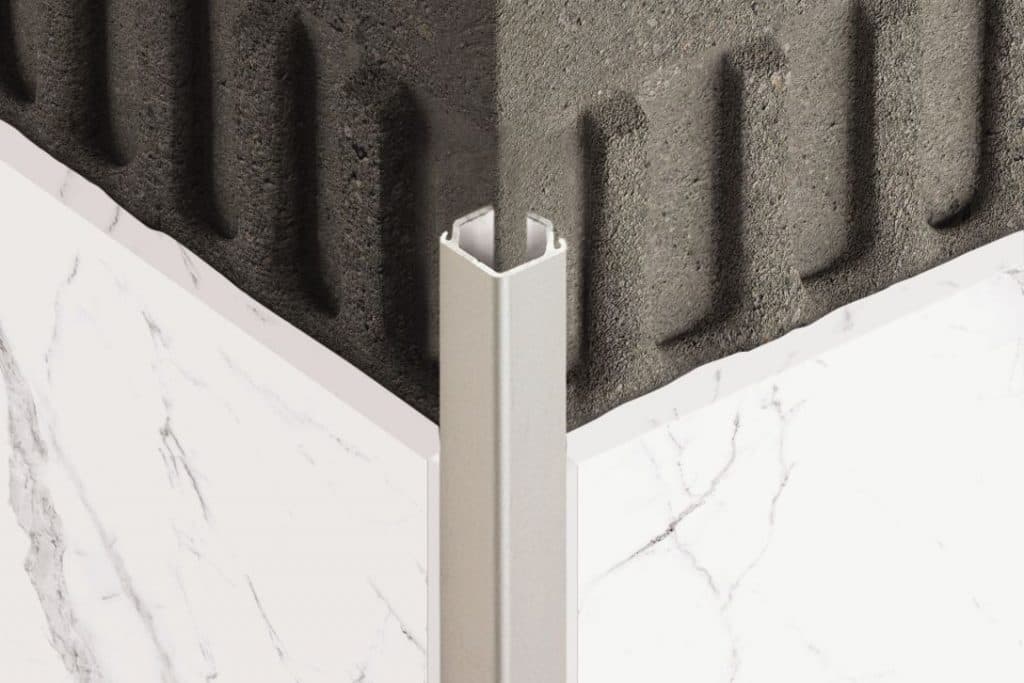
How to tile rounded corners
What to do in the corners, where the walls meet, is a problem you’ll need to solve while the corners of tiles be rounded
It’s doubtful that every tile on a wall will simply happen to fit exactly since walls are tiled from of the center, building outward to the edges; you will probably have to deal with cuts in that corner to be rounded
Since walls move against one another over time and cause the grout to break, the corner areas should be exterior siding rather than grout
Hang all of the complete tiles across the two walls that go to the corner, beginning with each wall in the lower center and working your way up and then out, course after course
With spacers in between them, place the tiles in the thin-set mortar and distribute them with a notched trowel
When a whole tile cannot fit in the corner by the neighboring wall, halt each course
Measure from the corner to the edge of the final tile in a course
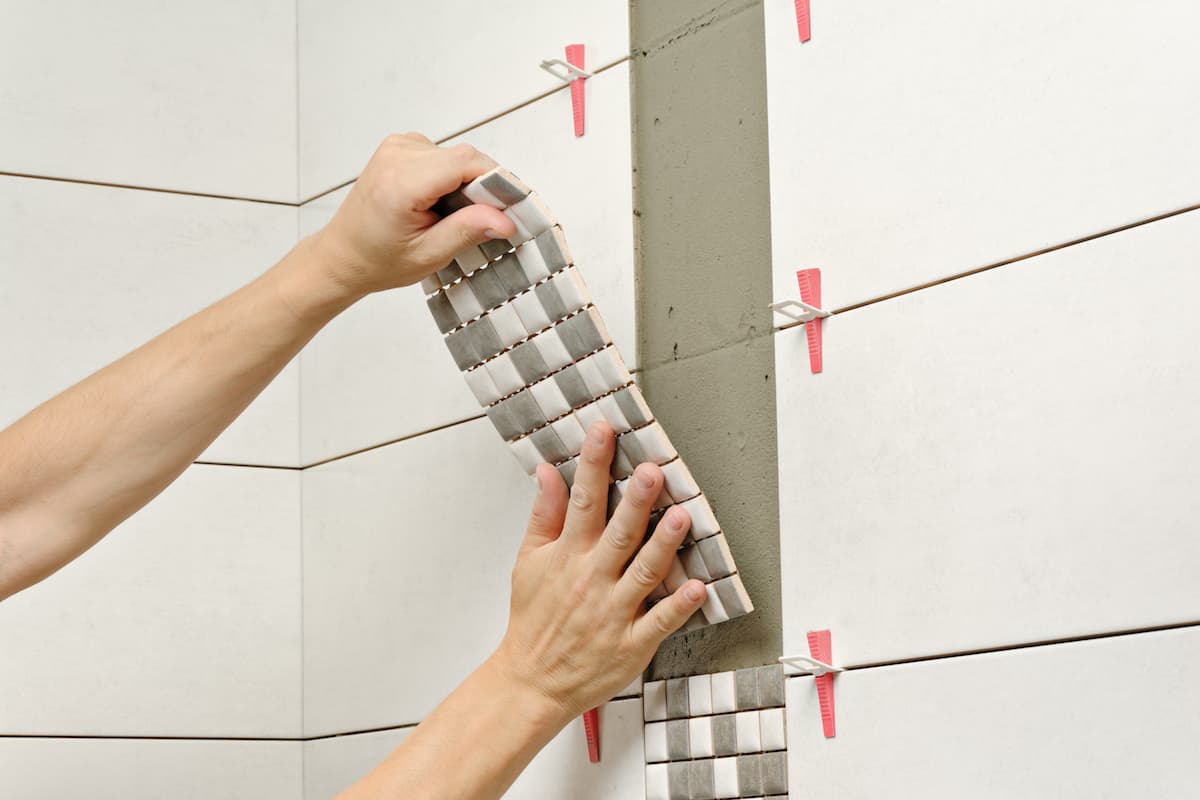
Add the length of a tile spacer and 1/4 inch to the measurement you arrive at
Therefore, you will deduct 3/8 inch from the space if the tile spacers are 1/8 inch
Using your tile cutter, cut a tile that size
Utilizing the notched trowel, put mortar to the tile’s backing
Place the tile on the wall with a cut edge adjacent to the last complete tile in the row and the other edge towards the corner
The two rounded corner bathroom tiles should be spaced evenly with the other tiles (usually 1/8 inch), leaving a 1/4-inch gap at the corner

