What is the Tile
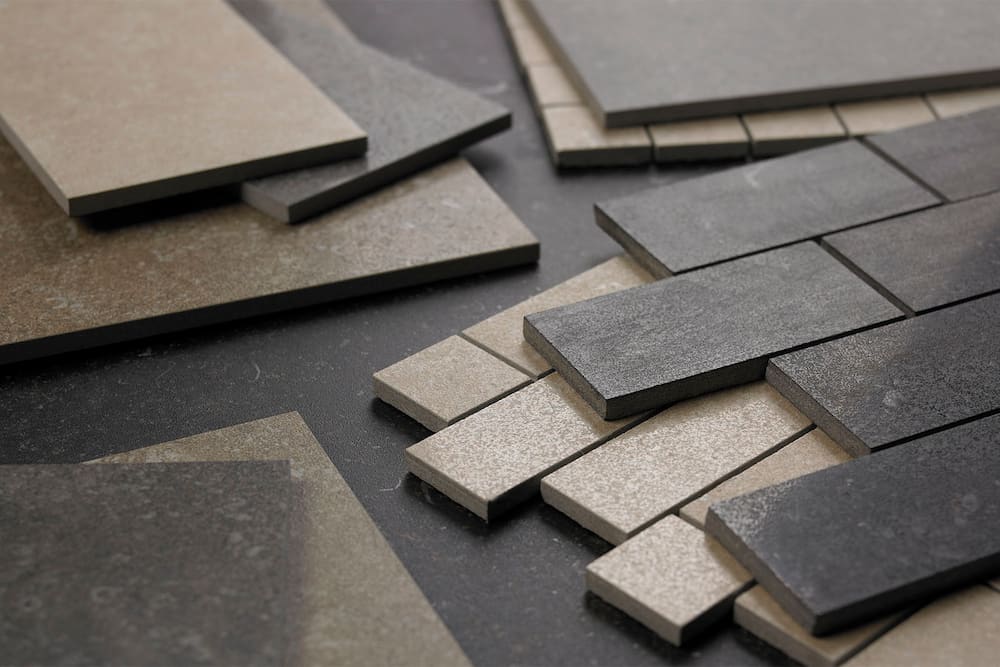
The majority of the time, tiles are thin, square, or rectangular coverings made of durable materials like ceramic, stone, metal, baked clay, or even glass
They are typically put in place in an array to cover surfaces, including tabletops, borders, floors, walls, and roofs
The term “tile” can also apply to comparable objects composed of light substances like perlite, wood, and mineral wool that are often applied to walls and ceilings
In another definition, a tile is a building tile or a comparable object, such as the rectangular game counters (see tile-based game)
The word is derived from the Latin word tegula, which means a roof tile made of heated clay
It comes from the French word tuile
Tiles, which can be anything from straightforward square tiles to intricate mosaics, are frequently used to create wall and floor coverings
The most popular material for tiles is ceramic, which is normally glazed for interior usage and unglazed for roofing
However, other materials like glass, cork, concrete, and other composite materials, stone, are also frequently used
Typically, marble, onyx, granite, or slate are used as tiling stones
On walls rather than floors, which need more impact-resistant surfaces, thinner tiles can be employed
It is important to separate decorative tilework or tile art from mosaic tiles, which uses a large number of tiny, randomly arranged tesserae that are all the same color and typically made of glass, ceramic, or stone
Herringbone, staggered, offset, grid, stacked, pinwheel, parquet de Versailles, basket weave, tiles Art, diagonal, chevron, and encaustic are a few tile patterns that come in a variety of sizes, shapes, thicknesses, and colors

Tile
Tile Edge Trim
Although there are many various kinds of tile trim for edge of the ceramic tiles, the following are the most popular choices: One of the most widely used trims is bullnose tile trim
They offer a polished, smooth appearance that guards against dangerously sharp edges
The curved edges of bullnose trims fit perpendicularly around the tile corner edges
They can be put over the seam where the wall meets the floor or in the corners of walls, backsplashes, tubs, and steps
Quarter-round trimmings are often a quarter of a circle in size, as their name suggests
They protect an exposed perpendicular edge by creating a smooth, uniform, radially rounded corner
The margins of restrooms, showers, benches, tubs, and doors are ideal places to use these to turn a corner
Cove base trims are frequently applied when the floor meets a tiled wall
Their curved edge conceals the junction elegantly and offers water-resistant protection to prevent moisture from penetrating the floors or walls
Along the base of showers, they are very helpful
When these trimmings are fitted, cleaning should be simple and less often
Baseboards are frequently placed along the seam where the wall and the floor meet
They are particularly helpful in moist locations like bathrooms or showers, much like cove base trims
They have a straight edge that needs to be properly caulked to be watertight, unlike cove base trims
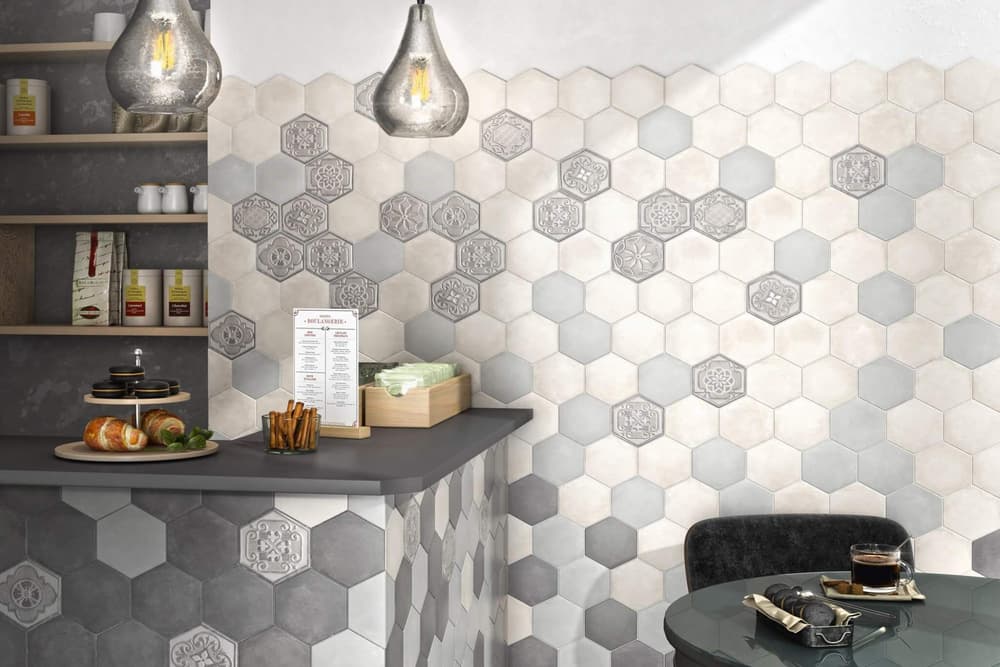
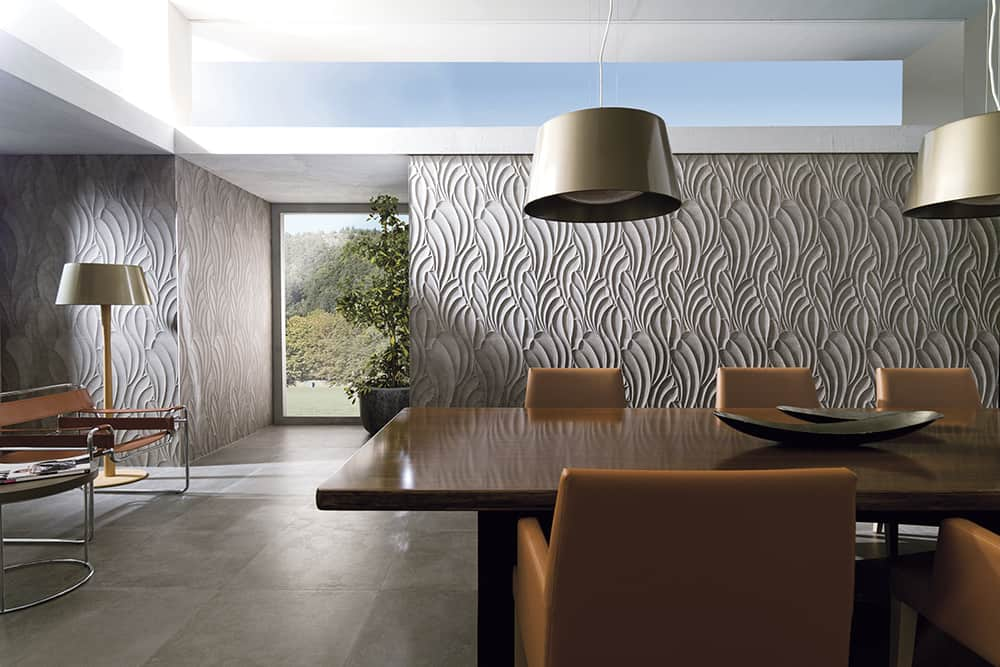
Stone wall tiles design
Baseboards made of tile are a wonderful choice for often mopped areas (as opposed to using wooden baseboards)
Round edges and a cylindrical shape characterize pencil trimmings (roughly like a pencil)
On walls, they are frequently utilized around the margins of mosaic patterns
They aid in establishing borders or defining the design’s conclusion
They also provide a fantastic standout piece for areas when the design switches between different tile shapes
Flat liner trims are used to frame designs or statement items, similarly to pencil trimmings
However, flat liners are flat, straight pieces of tile as opposed to being rounded
Although they don’t have the same depth as pencil trims, they can give a more streamlined and modern style
Flatliners are ideal for framing edges where different materials (such as tile and wood) meet, especially on the floor where rounder tile may not be required
Baseboard trims were used as chair rail tile trims to stop chairs from scuffing walls
They are now more frequently used to give an elaborate architectural frame and backsplashes or mosaic tiles
They have carved ornate molding that is less clumsy than a plain tile baseboard yet offers more depth than a flat liner
V-caps are the only trims that can completely enclose perpendicular corners in tile installations
They are typically utilized to finish the edges of sinks on countertops in the kitchen and bathroom (or anywhere the tile hangs over the edge)
They can also be utilized as shower niches, window sills, or room walls
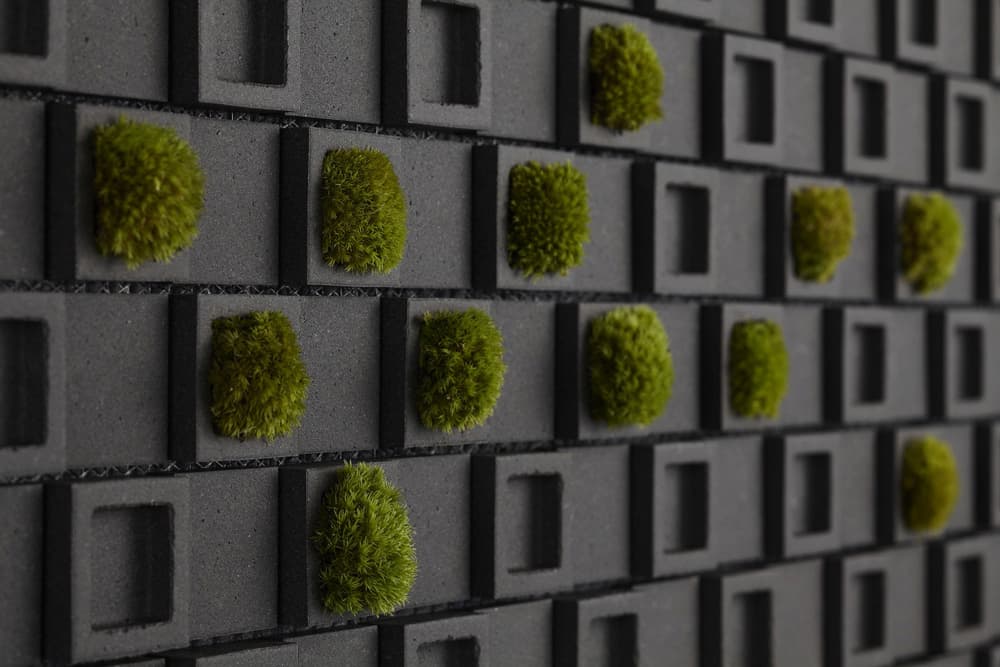
Wall tile outside corner
Tile Trim Corners Screwfix
How do I put tile screwfix edge trim at the corner after tiling? Relax! It’s easy
Tile edge trim possibilities are plentiful
First, choose which to install
Mercury Mosaics describes each well
They took gorgeous photos to show the changes
First, decide where you want to install the tile edge trim
You could apply to trim anywhere, but you should only do it at the wall’s base and corners
Before buying edge trim, decide if you want it on the front or back
Plan where you’ll put each trim piece in your thoughts (or on paper)
Measure where you’ll install tile trim
This involves measuring the floor’s base, corners, and tiled walls
Measure the tile’s thickness and length at each trim spot
This is how much trim to buy
Cut once, measure twice
The more carefully and accurately you measure your tile, the easier the installation and the better the completed product
After confirming your measurements, buy the trim you choose in step 1
With your trim and measurements, cut it to fit the tiled area
You’ll need to cut your trim carefully tiling a bathroom or a room’s floor
Remember, tile trim should be smooth, clean, and elegant
Sharp tile edges might ruin a new bathroom makeover
Cut your trim to the last-measurements steps using a miter box and hacksaw
At bases and wall edges, employ 45-degree angles
Here’s a video to help you chop trim if you’re nervous
It’s over! Mark where to glue tile edge trim
Mark the trim surfaces
Some mark with chalk
It’ll help you place stone tile glue
Some professionals eyeball it and glue the edge trim
) Choose
) Apply tile adhesive to the designated area and press tile edge trim into place
Repeat until all trim is secure
Remove extra glue for a clean finish
Wait a day before doing the final step
Seal your tiles and tile trim with grout
Using a caulk gun or grout tube, fill all gaps with grout
Using grout is similar to working with caulk
Smooth the grout as you go
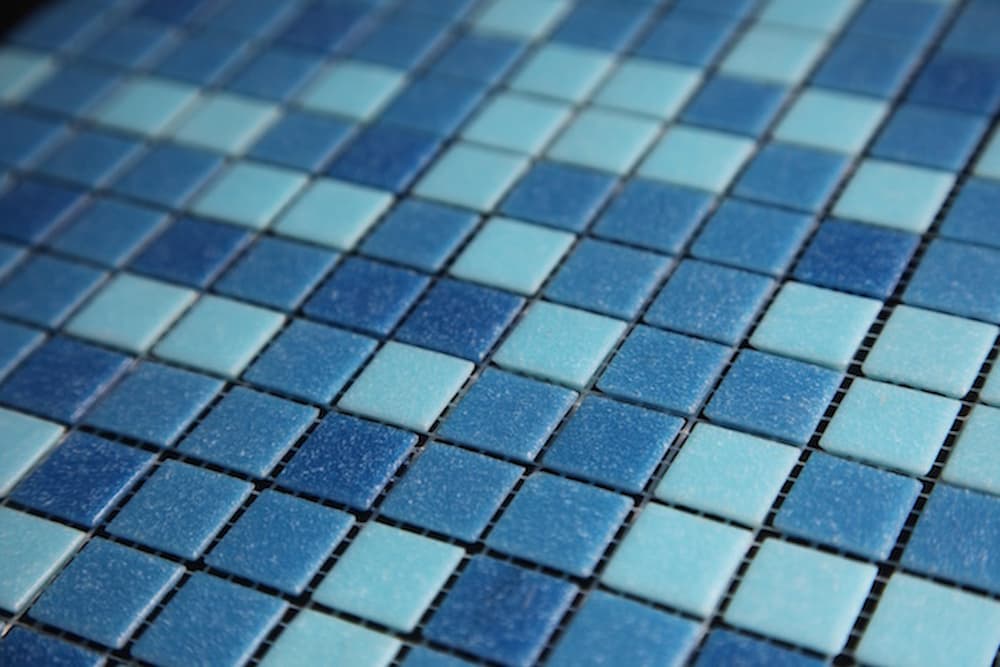
Ceramic porcelain floor tile
Aluminium Tile Edge Trim
The perimeter of your tile installations can be finished using one of four major types of wall tile edge trim
These include metal like aluminum and plastic trims, porcelain or ceramic trim tiles, and stone trims
The most prevalent options are metal tile trims (metal tile edging) and stone trims, though they come in a variety of combinations depending on the product and their application
Both metal and plastic tile edge trims are available in a variety of profile shapes and colors, but plastic is the least common of the two because of its poor resistance to wear
The metal tile edging is overwhelmingly the trim material used in mid-range and luxury renovations (image of sample trim wheel)
They have also evolved into a standard in the majority of shower wall tiling installations
They are perfect for high abrasion areas like flooring
Despite having the greatest variety of finishes and profile designs, the profile with the most pronounced top edge is the most widely used (for example, Schluter Jolly)
A wide variety of Shluter profiles are accessible
On the Schluter Systems website, you may see every one of them
Schluter profiles are typically available exclusively in Jolly profile without a special order at most home retailers
Additional Schluter profile choices are easily accessible online

Outside Tile Corner Trim
Unless you are building a tiled shower niche, tiling a pony wall, or tiling a shower bench, you may never need to bother about outside tile corner trims for your tile job
To be clear, the corner where two of your tiled surfaces meet at a 90-degree angle is the only place where exterior tile corner trimmings are employed
Nowadays, metal tile edge trim is used most frequently for these corners, but as I already indicated, natural or engineered stone is a fantastic alternative tile edging material
You can lighten your load by using stone
Leave the cutting, finishing of the edges, and installation to your stone fabricator
Remember that stone is pricey and needs to be cut and polished by a professional stone fabricator
If you decide on a metal tile edge trim, it must be placed carefully and expertly
You don’t want someone else’s subpar work in your newly renovated shower to be displayed because this trim piece is typically highly noticeable
First, you should adhere to the tactics I have discussed in the sections above if you want this installation to proceed smoothly
It will be difficult to align the four edges without any gaps
One option is to use a square joint or a miter junction to join the two pieces of trim at each of their four corners (45-degree joint)
The first choice is undoubtedly the simplest and has the best probability of success (see illustration), but it does not have the same polished appearance as a flawless miter junction
Another crucial need is that the top of the trim must be flat to obtain a respectable square joint
Schluter Shiene or Jolly can be used to accomplish this pretty satisfactorily
A miter junction will be necessary for other, more intricate profiles
It’s usually best to hire a qualified and experienced tiles and slabs installer to complete this work if you use miter joints for your shower niche outside trim
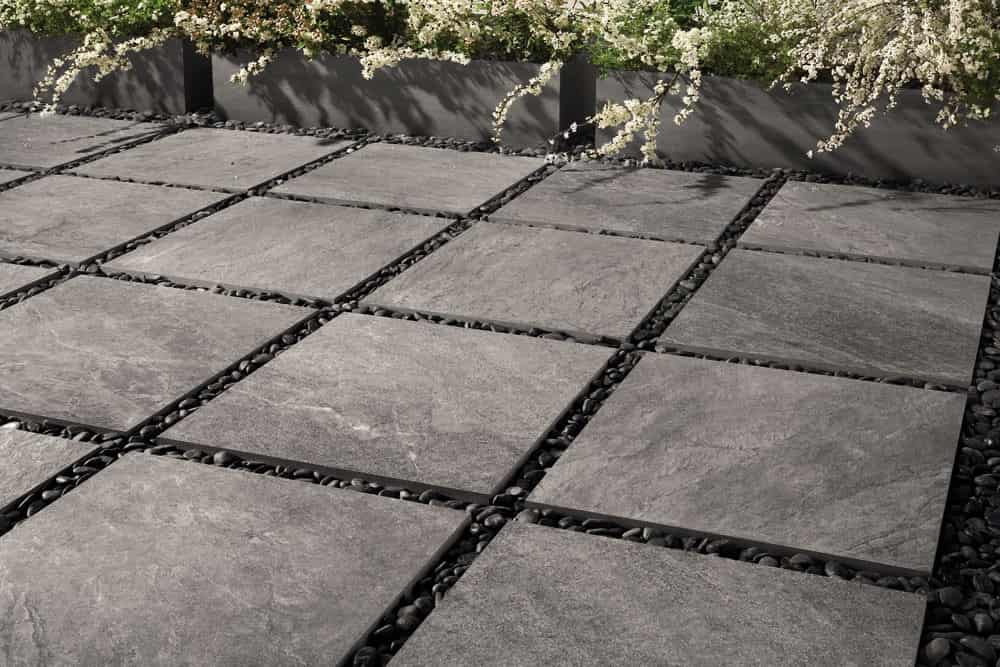
Inside Tile Corner Trim
Even though finishing inside corners is a crucial component of every shower tiling job, it is also the one that receives the most disregard when it comes to tile edging
There are some difficulties with these nooks and crannies, but there are also some sophisticated solutions and tactics to handle these difficulties
Even though they are not frequently utilized in contemporary bathrooms and showers, several highly practical and intriguing tile edge trims are still worth taking into account
If you’re like most tile installers, you can struggle to finish within corners when installing wall tiles
You have the option of tiling right up against the adjacent marble tile and using a white silicon bead to seal the corner where wall tiles meet
A grout line can also be made on one of the two walls by cutting the tile
The former tactic is the more popular one, mostly because it is the simpler of the two
Grout lines at corners are typically not thought to be attractive since they tend to break up the visual flow of tile from one wall to the next
Despite the fact that they are the most typical approaches, you may also install some fantastic inside corner trims here to provide your tile installation with a premium appearance
Although they are quite expensive and incredibly rare, I truly enjoy their appearance
Alternative to Bullnose Tile
You can substitute genuine or engineered stone for the typical tile edge trim profile if you are not enthusiastic about doing so
This is one of the tile edge trim concepts that is expanding the quickest, swiftly replacing the conventional tile edging choices with alternative or bullnose
Bullnose tile can be replaced with polished stone, offering a stunning high-end finish when used to cap shower pony walls or frame shower niche interiors
The majority of these installations will use marble and granite tiles because they look wonderful on shower walls and can have their edges left exposed for a lovely appearance
Marble tiles are typically always selected in this case since they are widely used and also tend to be rather soft, making it easier to clean the edges
For a fine polished, businesslike appearance, wet sanding is all that is necessary
The picture below displays a marble tile-trimmed shower niche
If you can find some, you can also employ stone materials from a nearby stone fabricator
This material is relatively thick because it is typically used for countertops in kitchens and bathrooms (a choice of either 2cm or 3cm thickness)
This is a fantastic option for those who favor a thicker stone’s more imposing appearance
This alternative might be reasonably priced if you can locate a fabricator who will provide you with a few small pieces
Small bits are a real hassle for these guys to store, and they have plenty of these lying around after every task that will eventually be disposed of, so this might not be as challenging as you think
Because it produces a highly appealing seamless effect and is simpler to install than other trims, this tile trim method is growing in popularity
Depending on your type of stone, it can also provide a stunning modern or classic finish
